Building your own AR-15 is a rewarding experience that allows you to customize your rifle. This approach is the easiest for beginners because the complete upper comes pre-assembled, removing the most technical part of the build. Additionally, it allows you to source parts that are compatible and California-compliant. By purchasing a stripped lower and a rifle kit, you’re also going to get better parts than pre-built rifles such as the S&W MP Sport, while gaining the satisfaction of building your own. In this post, I’ll walk you through the easiest way to build one, focusing on the stripped lower and rifle kit approach.
This method is beginner-friendly and minimizes the need for specialized tools or advanced skills.
Step 1: Purchase a Stripped Lower Receiver
The stripped lower receiver is the only serialized part of the AR-15 and must be purchased through an FFL dealer in California, which include big box stores like Bass Pro, Turner’s, or Sportsman’s Warehouse.
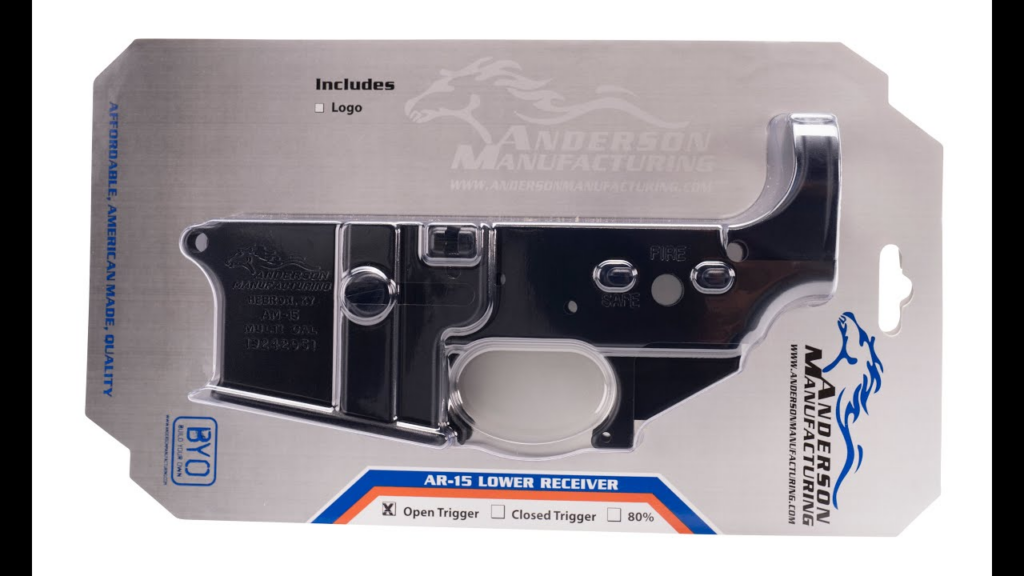
Anderson Stripped Lower. It’s cute how it looks like packaged candy
Popular brands for stripped lowers include Aero Precision or Anderson Manufacturing. Be prepared to pass a background check and follow the 10-day waiting period required in California.
Step 2: Order a Rifle Kit
A rifle kit typically includes all the remaining parts you need to complete your AR-15, such as a complete upper receiver (already assembled), a lower parts kit (trigger, safety, etc.), and the buffer tube, buffer spring, and stock. This approach saves you the effort of assembling the upper receiver and ensures all parts are compatible.

Brands like PSA and Del-Ton offer excellent as well as affordable options for beginners.
Step 3: Assemble the Lower Receiver
Here’s where you’ll do most of the work. Thankfully, assembling the lower receiver is straightforward with the right tools and a good tutorial.
Tools Required:
- Punch Set – For driving in roll pins.
- Small Hammer – To assist with pin installation.
- Armorers Wrench – For the buffer tube assembly.
- Needle-Nose Pliers – To handle small springs and detents.
- Flathead Screwdriver – For specific screws in the lower parts kit.
- Bench Vise (Optional) – To stabilize the lower while working.
- Roll Pin Holder/Starter Set (Optional) – To make roll pin installation easier.
- Blue Loctite (Optional) – For securing screws and threads.
There’s a million and one online tutorials for assembling the lower receiver. I recommend checking out this guide from Pew Pew Tactical as it’s thorough and well written. It also shows what a CA compliant AR-15 would look like as well, with the featureless grip.
Step 4: Attach the Complete Upper Receiver and Function Test
Attaching the upper receiver to the lower receiver is straightforward. Join the two receivers using the included takedown pins. Since the upper receiver comes pre-assembled, there’s no need to worry about headspacing or gas system adjustments. If you opted for a fixed-magazine lower, install the appropriate mechanism before joining the receivers. For a featureless build, ensure your grip, stock, and muzzle device comply with California law.
Perform a safety check to ensure the firearm is functioning correctly. Test the trigger reset, verify the safety selector works, and cycle the charging handle. Once these steps are complete, head to a range to test-fire your rifle and make any necessary adjustments, such as sighting in your optics or iron sights.
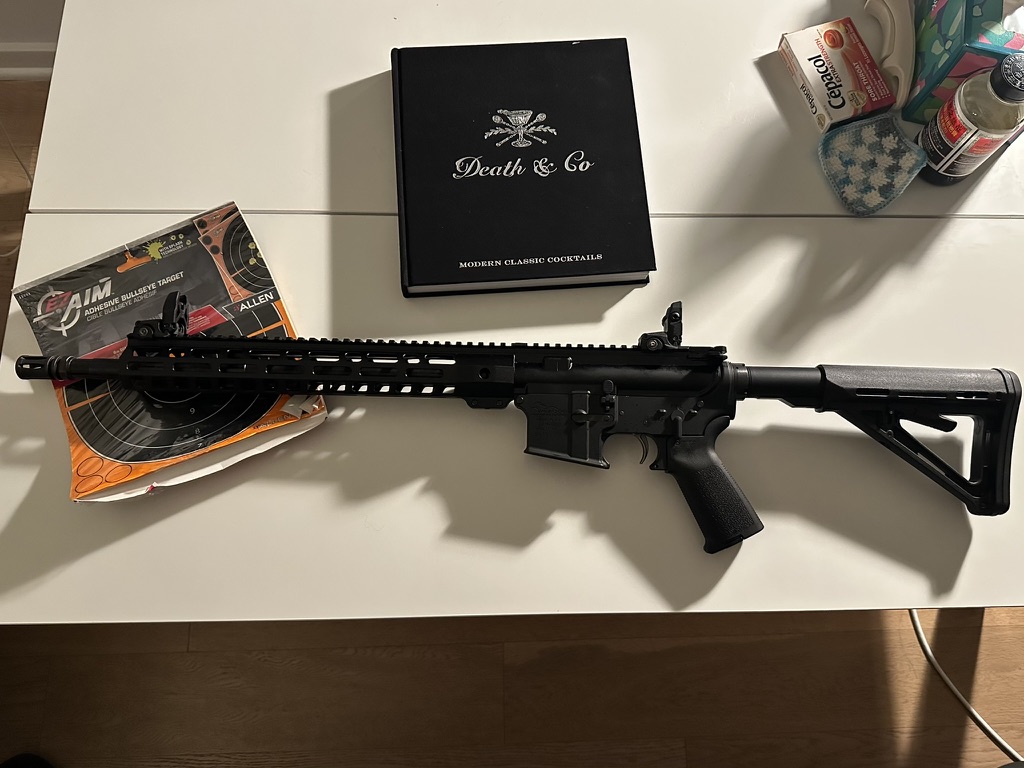
Building an AR-15 can seem hard at first, but with these 4 steps, you’ll be enjoying your own AR-15 in no time!
Disclaimer: This guide is for informational purposes only. Always consult local laws and regulations before building a firearm.
Leave a Reply